What you need
Materials
- Scissors Soft, skin-
- coloured cloth inclusive of cotton broadcloth, muslin, or linen Patterns (Tip: On the
- Patterns (Tip: On the
- styles, strong traces imply reducing traces; dotted traces imply sewing traces.) Skin-tone thread Sewing machine (optional) Fiberfill stuffing Pinking shears Yarn Embroidery thread (optional) Fabric for clothes Snaps, Velcro, or hooks and eyes Iron Pencil Chopsticks Stiff wool or felt How to do it Part 1 Handmade Dolls How-To STEP 1 Cut out
- Skin-tone thread Sewing machine (optional) Fiberfill stuffing Pinking shears Yarn Embroidery thread (optional) Fabric for clothes Snaps, Velcro, or hooks and eyes Iron Pencil Chopsticks Stiff wool or felt
How to do it
Part 1
STEP 1
Cut out sample pieces: Fold a chunk of skin-coloured cloth in half. Using the sample for the doll's torso, vicinity the sample piece in order that the indicated part lies alongside the cloth's fold. Trace and reduce out the sample's shape. Repeat so you have torsos. With styles for arms and legs, hint and reduce out 4 of every from the equal cloth STEP 2 With matching skin-tone thread, sew pieces collectively with proper facets dealing with in, the use of a 1/8-inch seam allowance. Make certain to go away the rims indicated with the aid of using the sample open for stuffing. You can have legs, arms, and a torso while finished. STEP 3 With pinking shears, trim extra cloth from seams (this could reduce bulkiness while stuffing). Turn shapes proper aspect out. STEP 4 Stuff arms, legs, and torso with stuffing, filling it with small handfuls at a time and putting it in layers to reduce bulkiness. (You can use a chopstick to assist fill withinside the ends. Smooth out any lumps with the aid of using redistributing the stuffing together along with your fingertips.) Make certain to go away a touch area close to the hole of every element in order that you may be capable of connect the arms and legs to the torso. Hand-sew arms, legs, and torso closed with a whipstitch, delivering the rims. STEP 5 Attach the seamed elements of the legs and arms onto the torso the use of a whipstitch.
Part 2
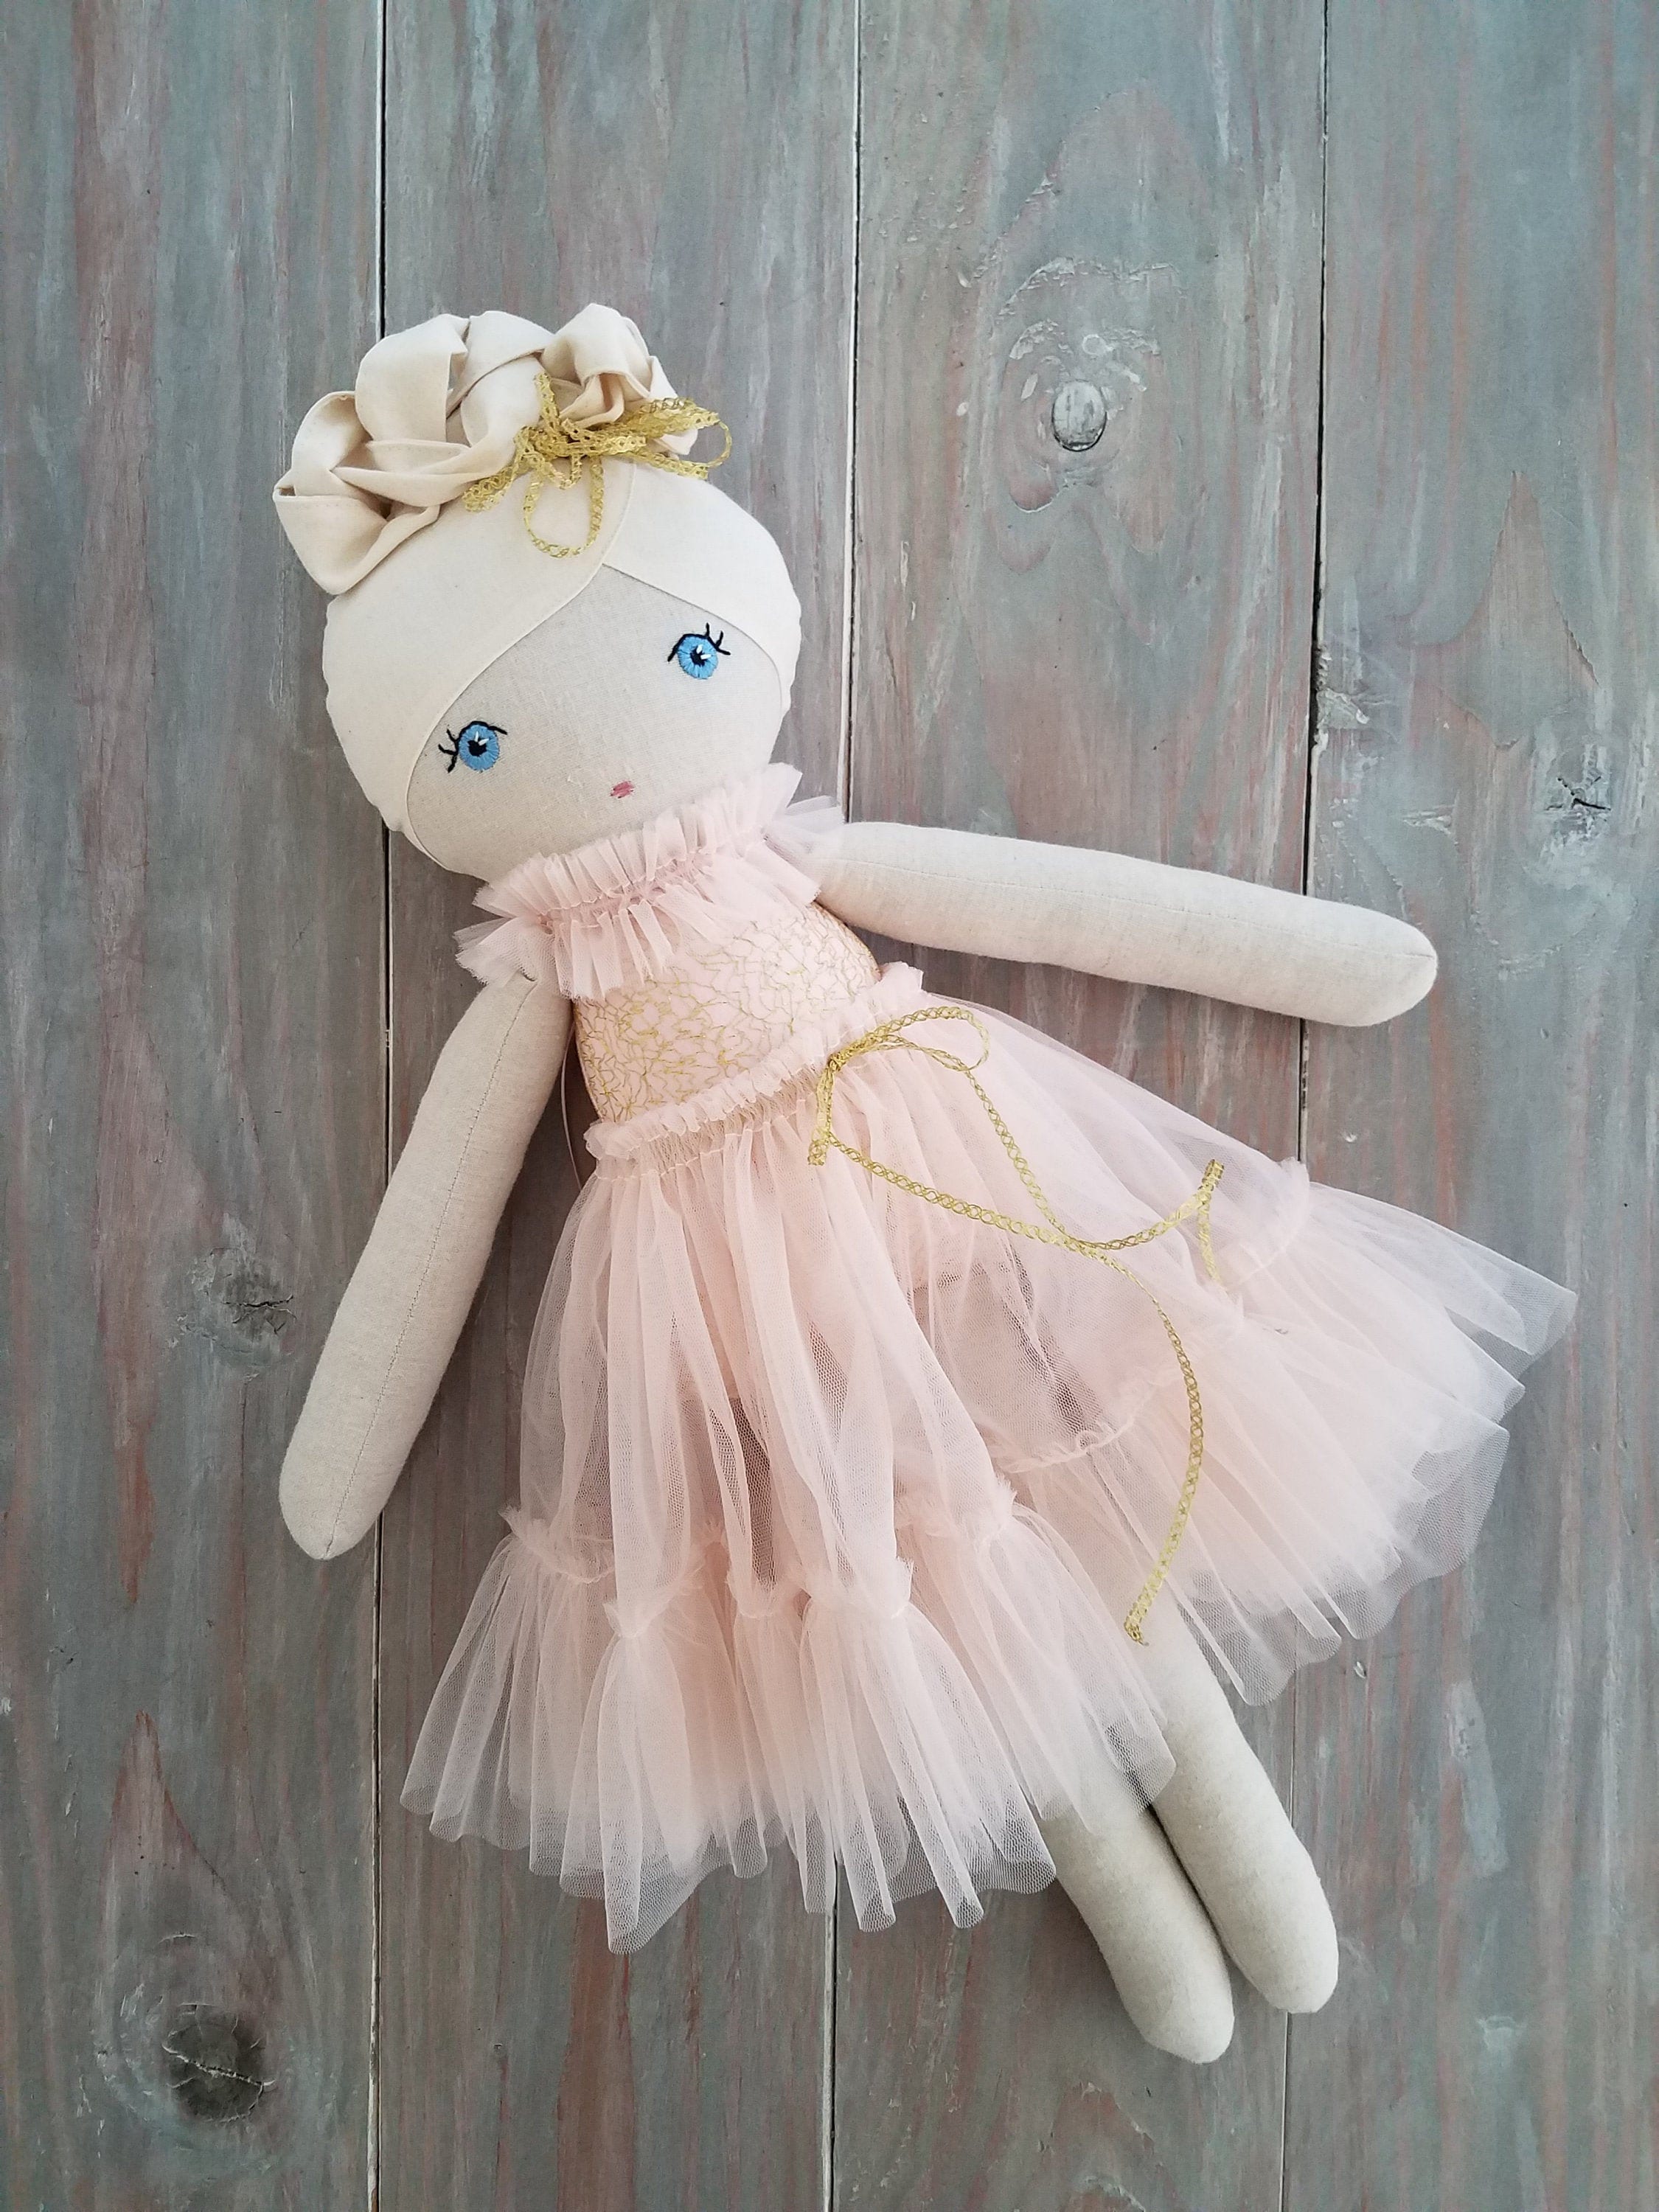
STEP 1 Cut out sample pieces: To create info inclusive of fingers, observe the sample's traces as a guide, the use of a series sew or a jogging sew. For the doll's elbows and knees, hand-sew a instantly line throughout the leg and the arm on the midway point. To create a stomach button, hand-sew a small sew withinside the middle of the stomach. STEP 2 For lengthy hair, reduce a beneficiant quantity of 5-inch lengths of yarn. (For curly hair, you may use boucle yarn.) Drape numerous reduce lengths throughout the pinnacle of the top in order that their midpoint falls at in which the doll's middle element might lie. Continue laying yarn throughout the doll's head till you've got got a thick layer, overlaying the top absolutely from the brow to simply above the neck. To create a middle element, hand-sew down the middle of the top, making small stitches even as securing the yarn to the doll's head. STEP 3 To create the doll's facial features, thread a needle with a unmarried strand of embroidery or sewing thread in the precise color: brown, blue, or inexperienced for the eyes, crimson or purple for the mouth, and the equal thread because the frame for the nose. Embroider eyes and mouth the use of small stitches. To shape the nose, pinch cloth withinside the middle of the face together along with your fingertips and sew a vertical seam thru each facets with skin-coloured thread, growing a pleat.
Comments
Post a Comment